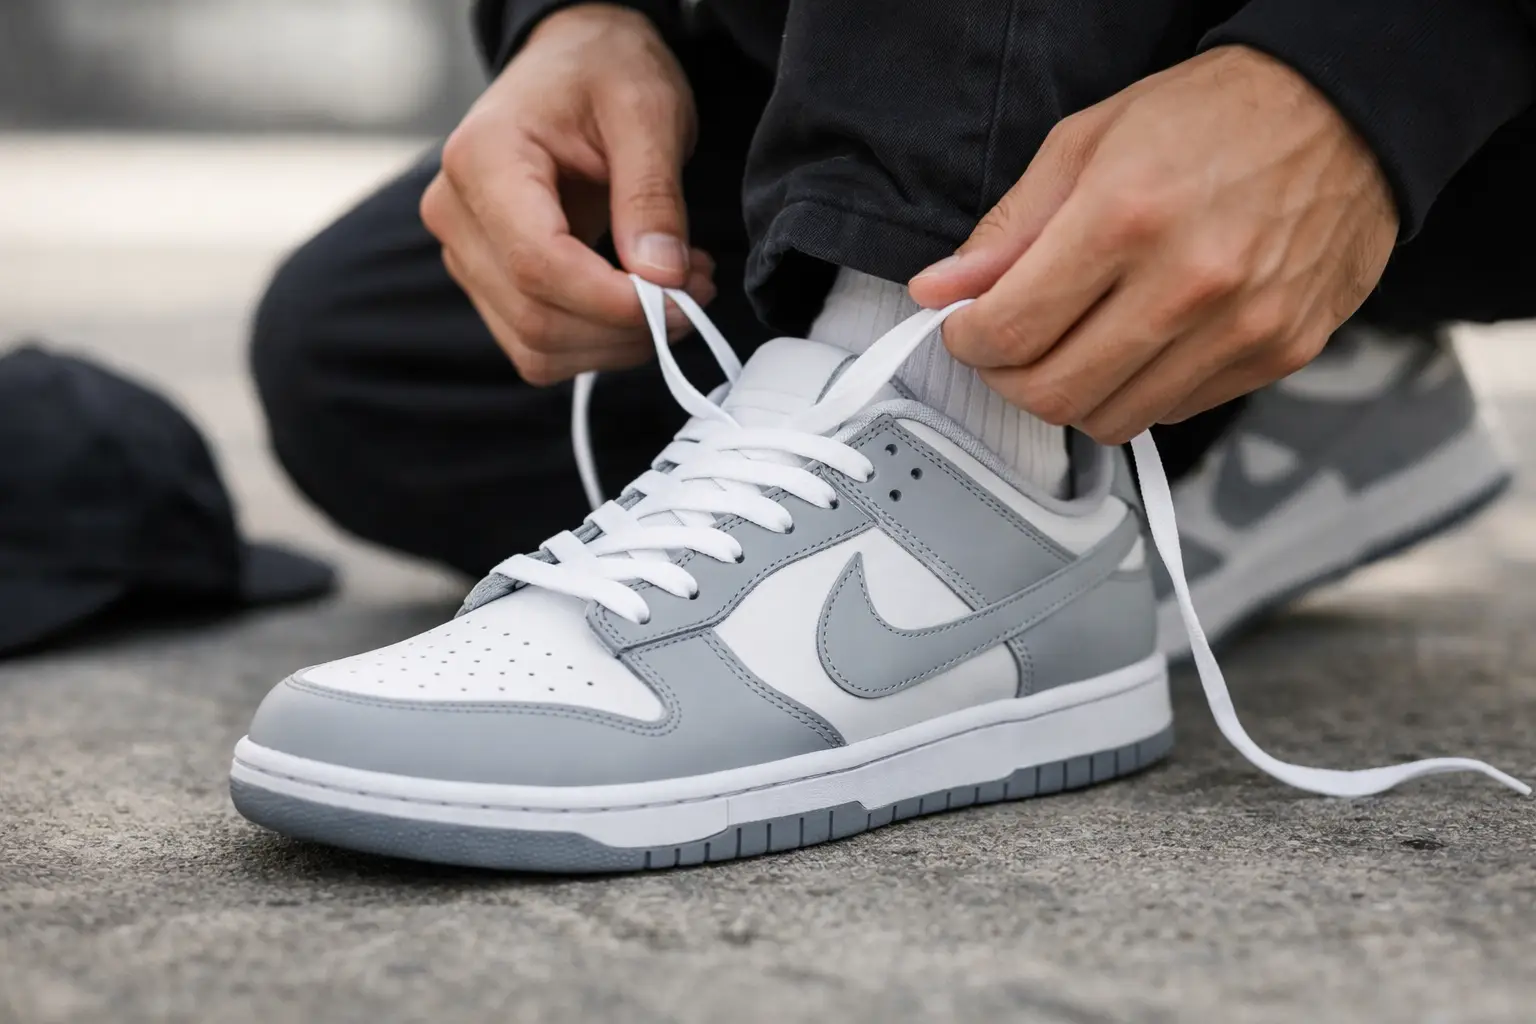
A pair of Dunk Lows can look completely different based on one detail: the laces. Pull them tight and they read like a court shoe. Leave them loose with a little shape through the tongue and they take on the relaxed, skate-adjacent look that has kept the silhouette in daily rotation for decades. Learning how to lace dunk lows is less about a complicated technique and more about choosing a finish that suits how you wear them.
The right setup also affects comfort. Dunks have a padded tongue, a structured leather upper, and a relatively narrow-looking toe box, so lacing too tightly can make a fresh pair feel more restrictive than it needs to. Whether you are styling Panda Dunks with washed denim, bringing out a bright SB colorway, or keeping a clean leather pair in your weekly lineup, the laces should support the look without fighting the shoe.
Start With the Right Lace Length and Setup
Most Nike Dunk Lows work best with flat laces around 54 inches long. That is usually enough length to lace every eyelet, leave a little room at the top, and still tie a standard bow. If you want a loose-laced finish, 54-inch laces are still the safest choice because overly long laces can puddle over the toe box or hang too far down the sides.
Before changing anything, unlace the shoe down to the bottom two eyelets. This prevents uneven tension from the factory lacing and gives you a clean reset. Make sure both lace ends are equal before moving upward. It sounds basic, but uneven lace lengths are the main reason one side of the bow ends up noticeably longer.
Dunk Lows are usually best laced from the bottom eyelets outward, with the lace sitting flat across the shoe. Avoid twisting the lace as you work. Flat cotton laces show every twist, especially against smooth leather panels or bold color blocking.
How to Lace Dunk Lows With Classic Crisscross Lacing
Classic crisscross lacing is the most practical option if you actually walk in your Dunks all day. It holds the foot securely, works with nearly every outfit, and keeps the shoe looking true to its original design.
Thread each end through the bottom eyelets from the outside toward the inside, creating a straight bar across the base of the shoe. Pull the lace until both sides are even. Then cross the right lace over the tongue and feed it through the next eyelet on the left. Repeat with the left lace, continuing in the same pattern until you reach the top.
The key is tension. Do not tighten each cross as hard as possible. Instead, leave a small amount of room at every row, then adjust once the shoe is on foot. A Dunk that is laced snug through the lower eyelets and slightly looser over the tongue usually feels more comfortable than one pulled tight all the way up.
For a cleaner, more traditional look, use all seven eyelet rows and tie a small bow. For an easier slip-on feel, stop at the second-to-last eyelet and tuck the remaining lace length behind the tongue. This works well if your Dunks fit true to size and you do not need extra lockdown around the ankle.
The Loose Lace Look for Dunk Lows
Loose lacing is the go-to if your aim is a casual streetwear finish. It gives the padded tongue room to show, breaks up the shoe’s structured shape, and looks especially right on SB Dunk Lows, worn-in leather pairs, and colorways with strong tongue branding.
Begin with the same bottom bar, then cross the laces normally through the first three or four rows. Keep each cross relaxed rather than cinched. Once you reach the middle of the shoe, leave a consistent gap between the lace and tongue - roughly the width of a finger is a good starting point.
Rather than tying a bow at the top, run the laces through the final eyelets and tuck the ends under the tongue or along the sides of the collar. Keep enough tension that the shoe stays on your foot, but not so much that the tongue collapses or shifts sideways. The best loose-laced Dunks still look intentional. They should not look like you gave up halfway through tying them.
This style depends on fit. If your heel slips, if you have a narrow foot, or if you plan to skate in SB Dunks, loose lacing may feel too unstable. Use a more secure crisscross setup for movement-heavy days, then save the relaxed lace job for everyday wear.
Try Straight Bar Lacing for a Minimal Look
Straight bar lacing gives Dunk Lows a tidy, almost display-ready finish. Instead of visible X-shaped crosses over the tongue, you get a series of clean horizontal bars. It works particularly well on monochrome pairs such as white-on-white Dunks, neutral gray colorways, and pairs you want to style with cleaner pants silhouettes.
Start by threading the lace through the bottom eyelets from outside to inside. Take the left end up one eyelet on the same side, then carry it straight across to the matching eyelet on the right, feeding it from outside to inside. That creates your first visible bar.
The other lace end should travel upward inside the shoe by two eyelets, then cross straight over to create the next bar. Continue alternating this pattern until you reach the top. The hidden sections of lace inside the upper make the method look slightly more technical than crisscross lacing, but it is straightforward once you see the rhythm.
Bar lacing can feel less adjustable over the middle of the foot, particularly if you have high arches. It is a style-first choice, not always the most supportive option. If the bars start pulling apart when you walk, loosen the lower rows slightly or switch back to crisscross lacing.
Use the Top Eyelet Only When You Need It
The top eyelet on a Dunk Low is optional. Using it creates a tighter wrap around the ankle and helps reduce heel movement. That can be useful when your pair feels a little long, when the leather is still stiff, or when you prefer a locked-in fit.
For most casual outfits, leaving the top eyelet empty produces a better shape. The collar sits lower, the tongue has more presence, and the shoe does not look overly cinched. This is a small decision, but it changes the whole profile from fitted to relaxed.
If you want more security without pulling the entire shoe tight, lace through the top eyelet and make a small loop on each side. Feed each lace end through the loop on the opposite side, then pull gently before tying. This creates a heel-lock effect that keeps the rear of the foot in place while allowing the middle rows to remain comfortable.
Keep the Tongue Centered
A crooked tongue can ruin even the cleanest lace job. Dunks are especially prone to this because the padded tongue naturally shifts when the laces are loose. Each time you put them on, pull the tongue upward and center the label before tightening or tucking the laces.
If it keeps sliding to one side, the laces may be unevenly tensioned. Loosen the rows around the middle of the foot, reposition the tongue, and retighten both sides in small increments. Do not solve tongue movement by yanking the top rows tight. That usually creates pressure across the forefoot and makes the shoe less comfortable.
For a fuller, early-2000s-inspired look, let the tongue sit slightly proud above the collar. For a lower-profile outfit, tuck it down just enough that the top edge aligns closely with the collar. Both work. The better choice depends on whether the rest of your fit leans baggy and casual or cleaner and more tailored.
Match the Laces to the Pair
White flat laces are the default for a reason: they keep the Dunk recognizable and let the colorway do the work. But swapping laces can add personality when it is done with restraint. Match one secondary panel color for a cohesive result, or choose cream laces on vintage-toned pairs for a softer, worn-in feel.
Avoid changing laces just because contrast is available. A loud lace color can overpower a shoe with already busy overlays, graphic details, or multicolor branding. If the pair is the statement, clean lacing and the original lace color usually win.
One practical rule applies to every style: lace both shoes the same way. The difference between relaxed and messy is consistency. Take a minute to level the bars, center the tongues, and set the same amount of slack on each shoe. Your Dunk Lows will look better before you have even stepped outside.